Not sure how to install your new hydroponic water chiller?
No worries – you’ve come to the right place. Today, we’re going to share a video that easily shows you how you can get your new system up and running and get your reservoir dialed back into the ideal temperature range.
Let’s dive right in!
How To Install The Active Aqua 1/2 HP Hydroponic Water Chiller
If you want to learn more about hydroponic water chillers, check out our article on why hydroponic water temperature matters!
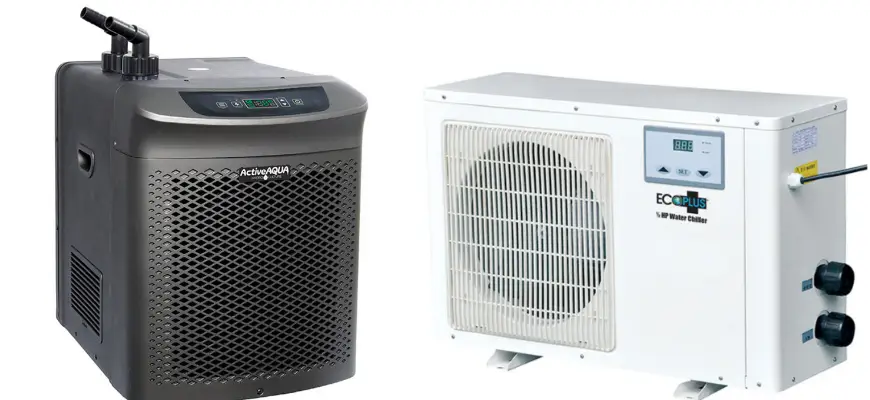
In this video, Justin is installing an Active Aqua water chiller into a Current Culture deep water culture hydroponic system.
Questions? Call 888-815-9763 or email support@hydrobuilder.com.
FAQs for Installing A Water Chiller
Q: Why should I install a water chiller in my hydroponic system?
A: A water chiller helps maintain the reservoir temperature around 65‑70 °F (18‑21 °C), which keeps dissolved oxygen levels high and prevents nutrient lockout and root disease. Warm water above 72 °F holds significantly less oxygen, stressing plant roots
Q: What size chiller do I need for my system?
A: Choose a chiller rated for your reservoir volume. Common residential systems range from 10‑100 gallons, select a model sized appropriately. Oversizing wastes energy; undersizing may not maintain proper temperature
Q: How do I physically install a chiller into the system?
A: Install as follows:
-
Place the chiller in a well‑ventilated area outside your grow tent.
-
Connect tubing: one from pump outlet to chiller inlet, another from chiller outlet back to the reservoir, securing with hose clamps.
-
Submerge the pump deep in the reservoir; position the return outlet at the opposite end to promote circulation.
-
Plug chiller into a dedicated circuit